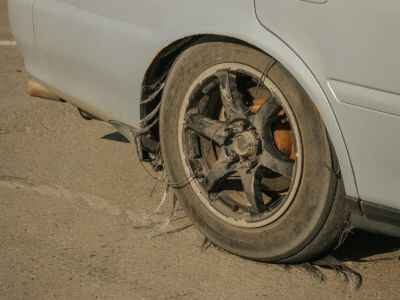
Imagine cruising down the highway, everything’s going great, and then, boom! A flat tire ruins the ride. If you’ve ever been in that situation, don’t feel bad because you’re not alone. Almost all drivers have had to deal with a flat tire at some point. Unfortunately, studies show around 50% of people in the UK don’t know how to change a flat tire safely, especially in rush highway traffic.
But what do you do when it’s an emergency? Well, you do it yourself! It’s a stressful moment, but it can be managed. By following this guide to change a flat tire, you can change a flat tire fast, stay safe, and get back on the road quickly.
Staying Prepared for the Unexpected Emergencies
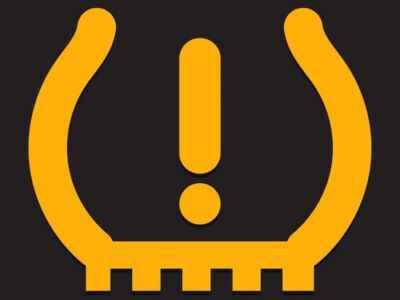
Flat tires strike without warning. Ignoring that tire pressure warning light on your dashboard might mean discovering your tire has gone completely flat later.
A tire pressure light, also known as a tire pressure monitoring system (TPMS) light, is a warning on your car’s dashboard that indicates one or more of your tires are underinflated. A sensor named TPMS is used to do this. The light is usually yellow or amber and resembles a tire with an exclamation point or the letters “TPMS”.
Low tire pressure compromises your safety and your wallet. Your car becomes harder to control, burns more fuel, and wears out tires faster. Keep a tire gauge handy and check those pressures regularly – a quick stop for air could save you from costly repairs or dangerous situations.
Since you never know when a flat might happen, you should have an emergency kit ready in your car. It will help you to change a car tire safely. But what should this kit include? Here are the essentials and why they’re necessary:
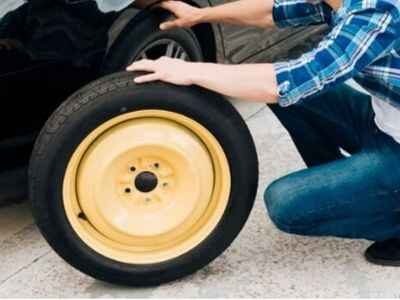
Spare Tire
You need one because you can’t fix a flat tire on a rush highway.
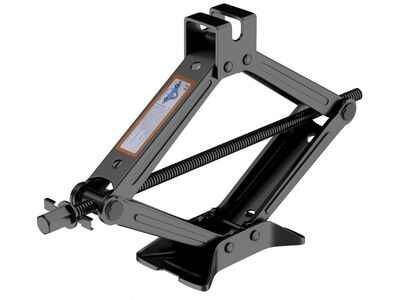
Jack
This tool lifts your car off the ground so you can change the tire.
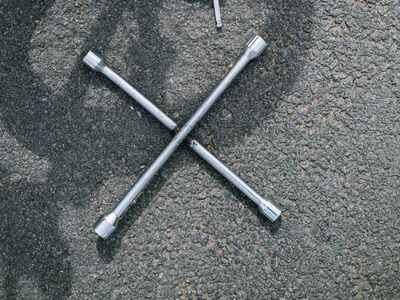
Lug Wrench
It helps you loosen and tighten the lug nuts holding the tire in place.
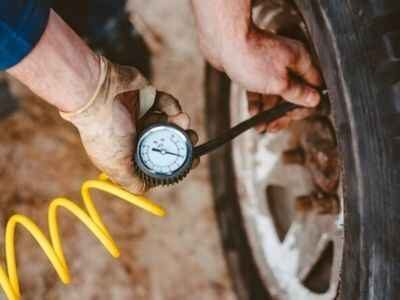
Tire Pressure Gauge
Ensures your tires, including the spare, are inflated properly.
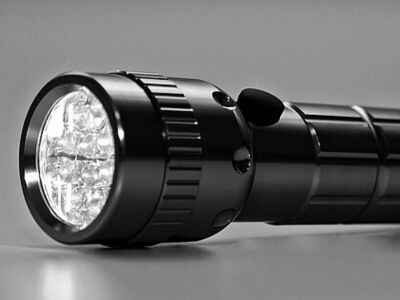
Flashlight
For night-time tire changes or low-visibility conditions.
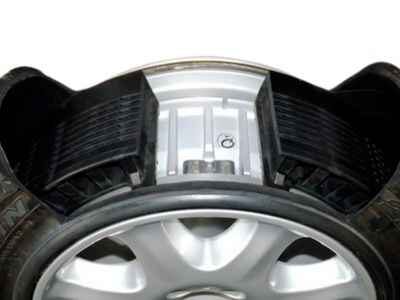
Run Flat Tires
Run flat tires allow you to drive a limited distance after a puncture, which can help you maintain control and reduce the risk of accidents.
Other important items that aren’t typically included in a standard toolkit but are crucial for safety:
Reflective Triangles
Makes your car more visible to oncoming traffic.

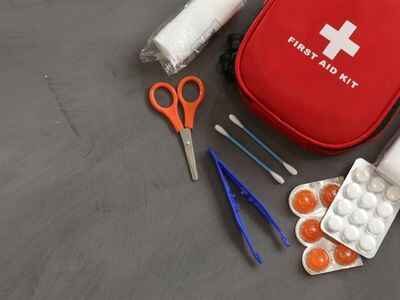
First-Aid Kit
In case of any minor injuries during the process.
High-Visibility Vest
Helps other drivers see you better. It is also safe to keep a rain poncho in the car.

Vehicle’s User Manual
It can help you find more specific information regarding changing a flat tire.
Gloves
Proper gloves protect your hands and give you a better grip on your tools.
Wheel wedge
To block the other wheels of the car to keep it stationary.
Having these items ready ensures you’re not caught off guard. They also give you the confidence to handle a flat tire situation, when it happens.
12-Step Guide to Change a Flat Tire Safely
Changing a flat tire is a risky job. You must do it properly and ensure your safety and that of other drivers. You can follow this 12-step guide to change a flat tire, tackle the situation confidently, and get back on the road without any unnecessary stress.
Step 1: Pull Over to a Safe Spot
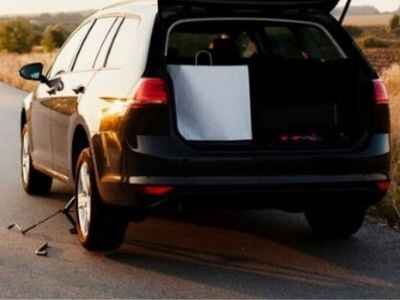
When you have a flat tire you should pull over your car to a safe spot immediately. But how can you do this safely on a busy highway? The key is to keep calm and gradually reduce your speed while you look for a safe spot.
Avoid stopping abruptly in the middle of traffic, which could cause an accident. Look for a breakdown lane or a safe space away from moving cars.
Avoid stopping on bridges, bends, or hills where visibility might be limited. If you can, continue driving slowly until you find a safe, flat area to stop.
"PRACTICE DEFENSIVE DRIVING."
Step 2: Turn on Hazard Lights and Set Up Safety Gear
Hit your hazard lights the moment you pull over. The flashing alerts warn other drivers that your car is disabled and to pass carefully.
Place reflective triangles or flares at least 4 meters in front and back of your car. This early warning system gives other drivers time to see you and slow down. These tools are helpful during nighttime or low-visibility conditions.
Moreover, wear a reflective vest (if possible) to make yourself more visible while working around the car. It is vital when you stand on the side of a highway with cars rushing past.
Step 3: Engage the Parking Brake
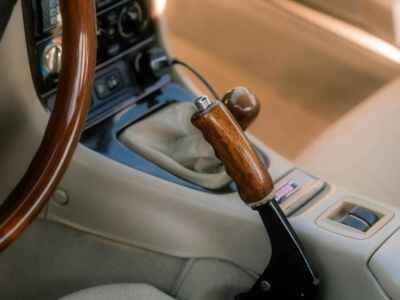
First, pull your parking brake tight – even on level ground. When you lift the car, sudden weight shifts could send it rolling if the brake isn’t set. So, to change a flat tire safely, engage the parking brake properly.
Step 4: Place Wheel Wedges
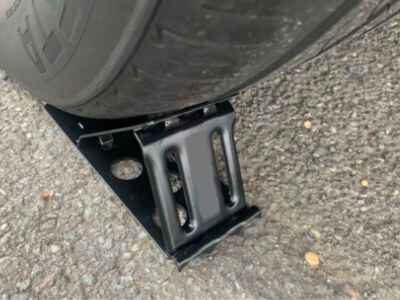
After that, place wheel wedges under the tires on the opposite side of the car to further secure it. They block the wheels and ensure the vehicle remains stationary while you change the tire. You can use large rocks or other heavy objects if you don’t have wedges.
Step 5: Retrieve Your Spare Tire and Tools
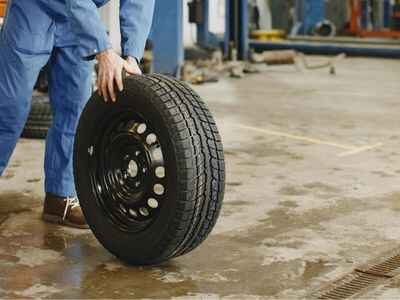
Get the tools and spare tire out of your car. Typically, these are stored in the boot or under the floorboard. And as you take out the tire, check if it’s properly inflated.
But what if you are missing the tools to change a flat tire? In this case, you may need to call for roadside assistance, but it’s always best to be prepared by keeping a fully equipped tire-changing kit in your car.
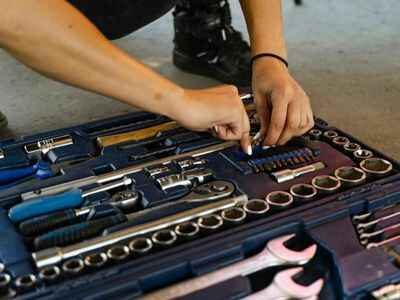
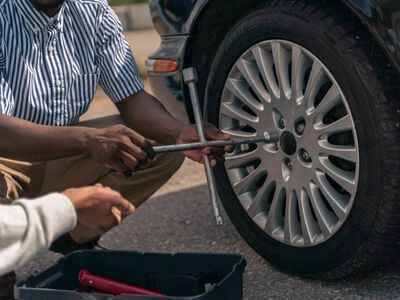
Step 6: Loosen the Lug Nuts
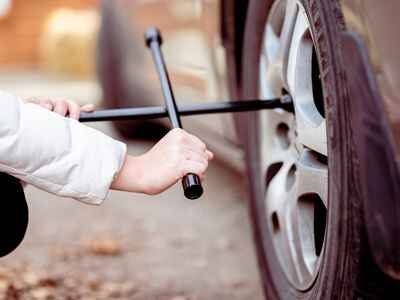
You finally start the actual tutorial of changing a flat tire here. Loosen the lug nuts of the flat tire with the help of a lug wrench without removing them. It’s crucial to do this before you jack up the car. Because the force required to loosen them can cause the vehicle to shift.
Turn the lug nuts about ¼ to ½ counterclockwise. But you don’t have to remove them entirely at this stage. Just loosen them enough so they’ll come off easily once the car is jacked up.
Step 7: Position the Jack
Now it’s time to raise the car. Check your owner’s manual and find the correct jacking points. If you use the wrong point, it might damage your vehicle. The jack can also slip away for this reason. You can also place a 2”x6” wood under the jack to prevent it from slipping.
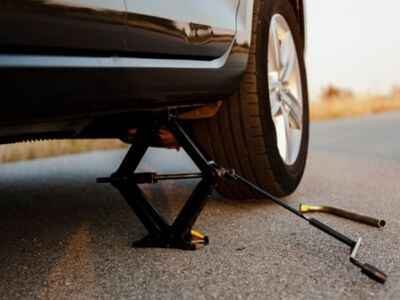
Step 8: Lift the Vehicle
Once the jack is properly positioned, raise the car slowly until the flat tire is fully off the ground. It is ideal if the tire is at least 6 inches off the ground, making the tire changing more accessible.
NOTE: Do not get underneath the car when changing tires.
Step 9: Remove the Flat Tire
After you lift the car, remove the flat tire. Pull out all the loosened lug nuts. Keep them aside so that you can find them later. At the end, pull off the tire properly from the wheel hub by holding it with both hands.
Make sure to put the flat tire somewhere it won’t roll away from. Securing the flat tire is necessary to avoid creating hazards for other vehicles.

Step 10: Mount the Spare Tire
Now it’s time to mount the spare tire. You can mount the run-flat tire of your car if necessary.
Align the holes in the spare with the lug bolts and carefully slide them onto the wheel hub. Push it into place until it sits flush against the hub.
Then, tighten the lug nuts by hand ensuring they hold the spare tire in place. This ensures the tire is aligned properly before you fully tighten the nuts.
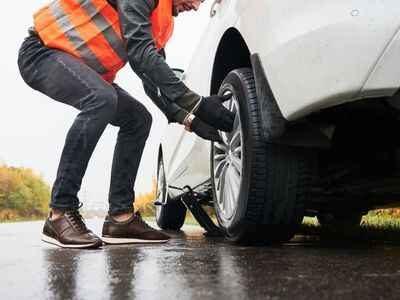
Step 11: Lower the Car and Tighten the Lug Nuts
After mounting the spare tire, slowly lower your car with the help of the jack. Now, tighten the lug nuts with the wrench in a crisscross pattern. It ensures even pressure and is essential for keeping the tire securely attached.
After tightening the lug nuts, lower down the car. You also have to remove the jack. Then give the lug nuts another firm turn to keep them as tight as possible.
Step 12: Double-check & Pack Up All Tools
Now that the car is back on the ground and the spare tire is installed, you’re almost done. After changing a flat tire, it’s important to double-check everything.
Tighten each of the lug nuts again to ensure they’re secure. Check if the tire pressure of the spare tire is as required. The required tire pressure is 60 psi or 420 kPa. If everything seems good, pack up all your tools with the flat tire in your car.
When you’re done, you can safely re-enter traffic and continue driving. But remember to get the damaged tire repaired or replaced immediately. Most spare tires are designed for short-term use only, so don’t delay.
Additional Safety Tips
Sometimes, changing a flat tire on a busy highway isn’t safe. Then what should you do if you find yourself in a dangerous spot, such as an area with heavy traffic, poor visibility, or unstable ground? In such cases, it’s best to avoid the risk altogether. Here is what you can do:
1. Find a Safe Spot
Pull over as far as possible and stay inside your car with your seatbelt on until help arrives. If you’re in a dangerous area, such as on a curve or a hill, staying inside the vehicle may be safer than attempting a roadside repair.
2. Call for Roadside Assistance
Calling roadside assistance is often the better option when the situation feels unsafe. Professional help ensures that the job gets done properly, without putting yourself at risk.

3. Find Alternatives
If you’re in a tight spot but want to buy some time before help arrives, alternatives like tire sealants or portable air compressors can offer temporary solutions. Tire sealants can quickly patch small punctures, while air compressors can inflate a slightly deflated tire. However, these are short-term fixes, and the tire should still be inspected and replaced as soon as possible.
Dealing With Unfavorable Conditions
While the weather is unpredictable, driving on dark or narrow roads also demands more precaution. So what do you do if the tire goes flat in such unfavorable conditions?
Changing Tire in a Bad Weather
To change a flat tire safely in rain, fog, or snow, keep your hazard lights on to increase visibility for other drivers. Use your emergency kit, especially reflective triangles or flares, to signal your position. Wearing a raincoat or gloves also helps as wet conditions can make handling tools harder.
You can learn more about how to drive safely in the rain by reading the article “Important Tips on How to Drive Safely in The Rain”.
Changing Tire at Night/Low-Visibility
If you want to change a flat tire safely at night or in low-visibility conditions, use a good flashlight. Use it to light up the work area so that oncoming traffic can see you. Always face the direction of oncoming cars for your safety.
Changing Tire in Narrow or Sloped Roads
It’s important to pick a safe stopping point to change a flat tire on narrow shoulders or sloped roads. If the road is sloped or uneven, it’s safer to call for roadside assistance rather than risk an unstable jack or rolling vehicle.
Preventative Measures to Avoid Flat Tires
Preventing flat tires starts with regular tire care. Here are some key maintenance tips:
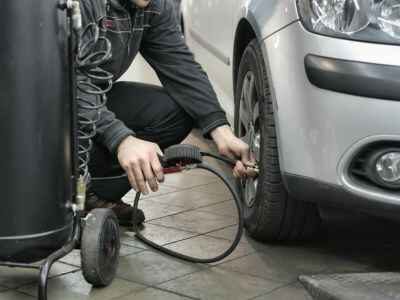
Pressure Check
Regularly check your tire pressure to ensure optimal performance and avoid blowouts.
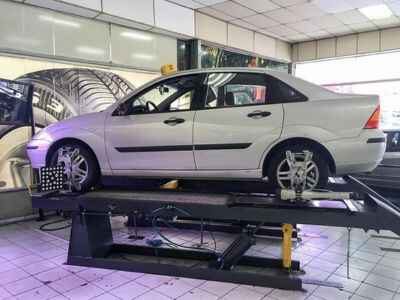
Alignment Check
Proper alignment prevents uneven wear and improves tire longevity.
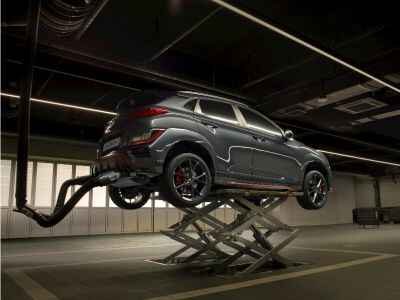
Tire Rotation Check
Tire rotation is important for tire safety. Rotating tires every 6,000-8,000 miles helps them wear evenly.
Read the article “Why Tire Rotation is Important And How to Rotate Your Tires Properly?” to learn more about tire rotation.
Wear and Tear
Inspect tires for cracks or tread wear. Replace them before they become dangerous.
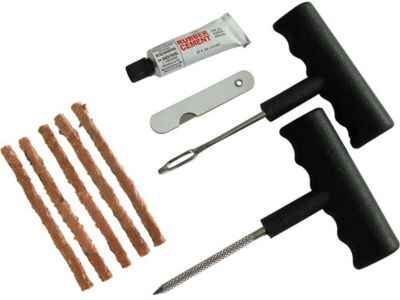
Puncture Repair Kit
These provide temporary fixes and added peace of mind.
Final Thoughts
Changing a flat tire on a rush highway is hectic, and dangerous. So, the most important thing is to find a safe spot and ensure better visibility for you and other vehicles. With proper preparation, attention to safety, and these straightforward instructions, you will change a flat tire quickly and safely.


